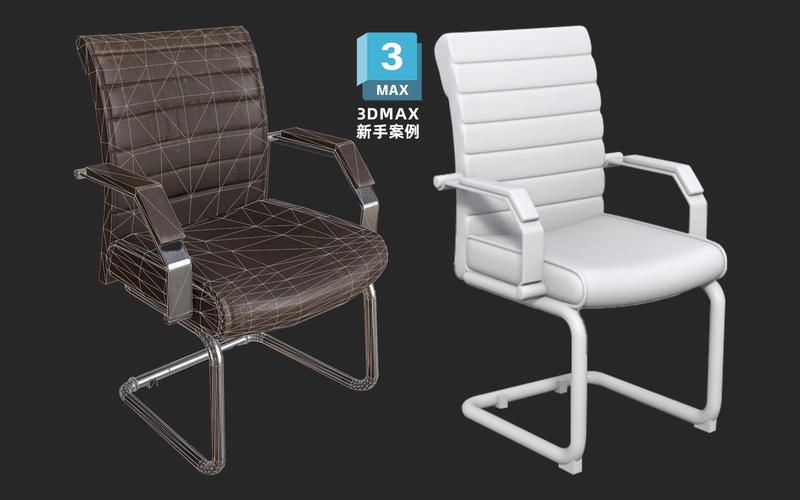
本文概述
Creating a framework model in 3D Studio Max (3ds Max) involves several steps and techniques. This comprehensive guide will walk you through the essential points to consider when working on your 3D framework project, from initial setup to final touches, ensuring you create detailed and professional models.Before you start, make sure you have a clear idea of what you want to achieve. Plan out your model by sketching it on paper or using reference images. This preliminary step helps streamline the modeling process.

Step 1: Initial Setup
Begin by creating a new project in 3ds Max. Set up your units and grid to match the scale of your desired model. It's crucial to work with consistent units throughout your project to maintain accuracy.1. Open 3ds Max and go to "Customize" > "Units Setup."2. Choose your preferred unit of measurement (e.g., metric or imperial).3. Adjust the grid settings under "Grid and Snap Settings" for better precision.

Step 2: Creating Basic Shapes
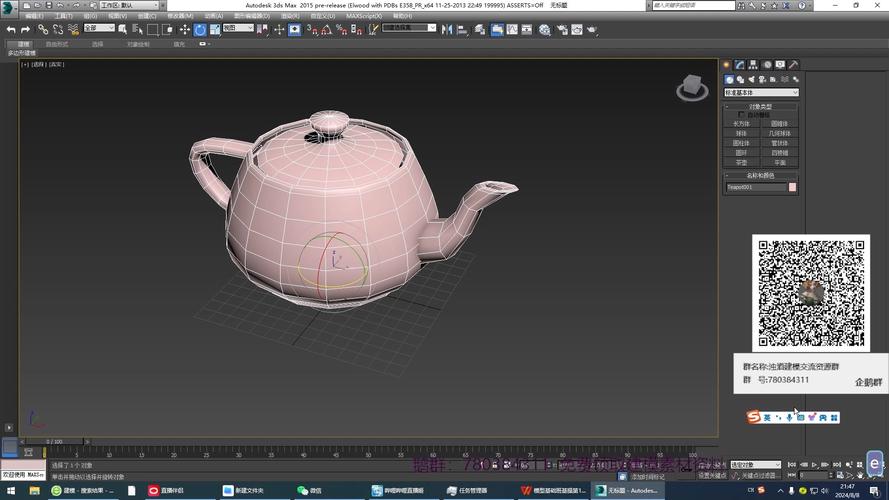
Start forming your framework model using basic shapes such as boxes, cylinders, and planes. Use the "Standard Primitives" available in the command panel.1. Select the appropriate primitive shape.2. Click and drag in the viewport to draw the shape.3. Adjust parameters like length, width, and height in the modify panel.
Step 3: Converting to Editable Poly
Once you have your basic shapes, convert them to editable poly objects for more detailed editing.1. Right-click on your shape.2. Choose "Convert To" and then select "Convert to Editable Poly."
Step 4: Refining the Structure
With your object converted to an editable poly, you can now refine its structure. Use tools like extrude, bevel, and insert edge loops to add complexity.1. Select the polygon mode from the editable poly options.2. Use the extrusion tool to extend faces.3. Bevel edges to create chamfers or rounded surfaces.
Step 5: Using Modifiers
Modifiers are powerful tools in 3ds Max that help enhance your model's detail and form. Apply modifiers such as "Bend," "Twist," and "Noise" for added intricacies.1. Go to the modifier stack.2. Choose a modifier from the list.3. Adjust the parameters to fit your design.
Step 6: Adding Details
For creating complex frameworks, details are imperative. Model smaller elements like joints, connectors, and reinforcement structures.1. Use small primitives or imported models for these components.2. Align and position them accurately within the main structure.3. Group these components for easier manipulation.
Step 7: Texturing and Materials
Applying realistic textures and materials enhances the visual quality of your model. Use the material editor to create and apply different materials.1. Open the Material Editor by pressing 'M.'2. Create new materials by selecting different shaders.3. Assign textures and adjust properties like glossiness, reflectivity, and bump.
Step 8: Lighting
Proper lighting is key to showcasing your 3D model effectively. Set up lights in the scene to highlight important features and create shadows.1. Add standard or photometric lights.2. Position them strategically around your model.3. Adjust light intensity and color to suit your scene.
Step 9: Rendering
Once your model is complete, render the scene to produce high-quality images or animations. Choose appropriate settings in the render dialog.1. Open the Render Setup window (F10).2. Select your output size and format.3. Adjust the render quality settings.4. Render the scene to produce the final output.
Final Touches
Review your rendered images and make any necessary adjustments. This may include tweaking materials, repositioning lights, or refining model details.Following these steps will enable you to create a detailed and visually appealing 3Dmax framework model. Practice and experimentation with these tools and techniques will further enhance your skills in 3ds Max modeling.
BIM技术是未来的趋势,学习、了解掌握更多BIM前言技术是大势所趋,欢迎更多BIMer加入BIM中文网大家庭(http://www.wanbim.com),一起共同探讨学习BIM技术,了解BIM应用!

